Juice Up Your Game

Jan Willem Nijman – Vlambeer – “The art of screenshake”

“Just fill your game with love and tiny details.”

Jan Willem Nijman

The 30 little Tricks from Jan Willem Nijman to Juice up your Game

I collected all the 30 tricks on the youtube video from Jan Willem Nijman in this article. Basically the trick name and a little tiny explanation. It’s actually just for my own convenience. But hey if it’s helpful for you, you are welcome.

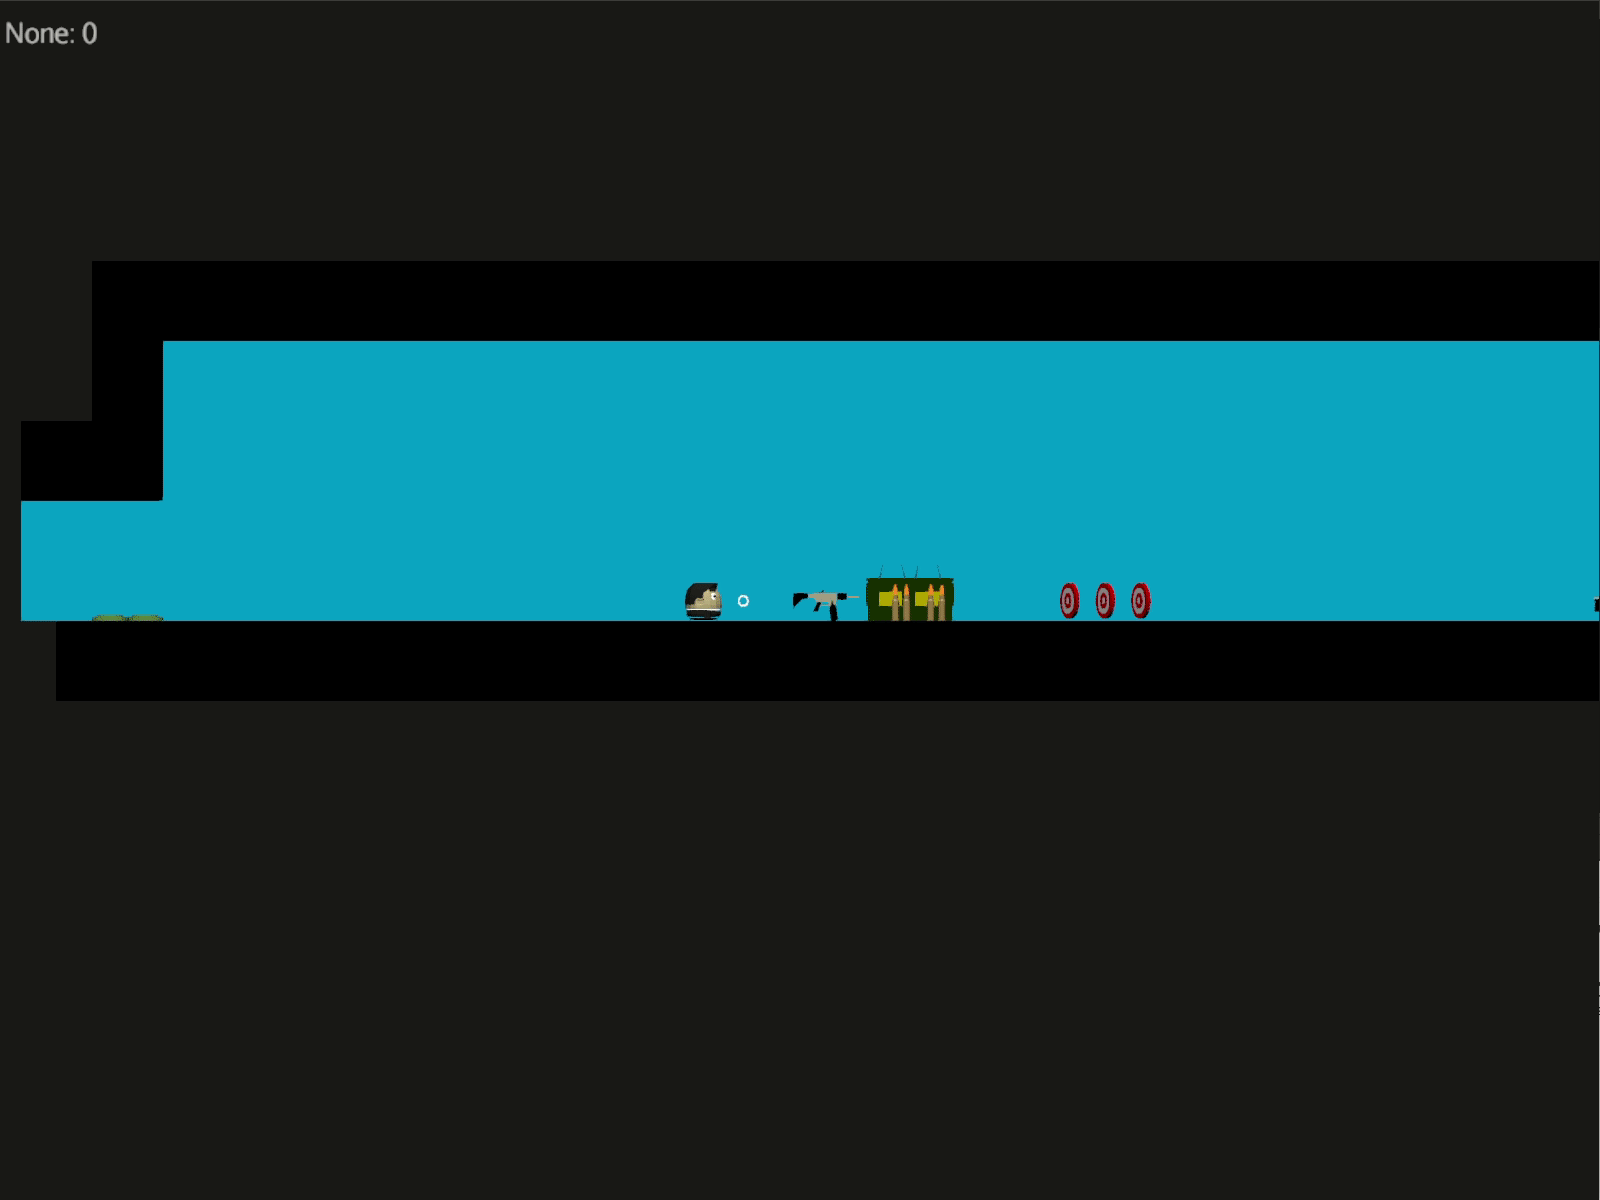
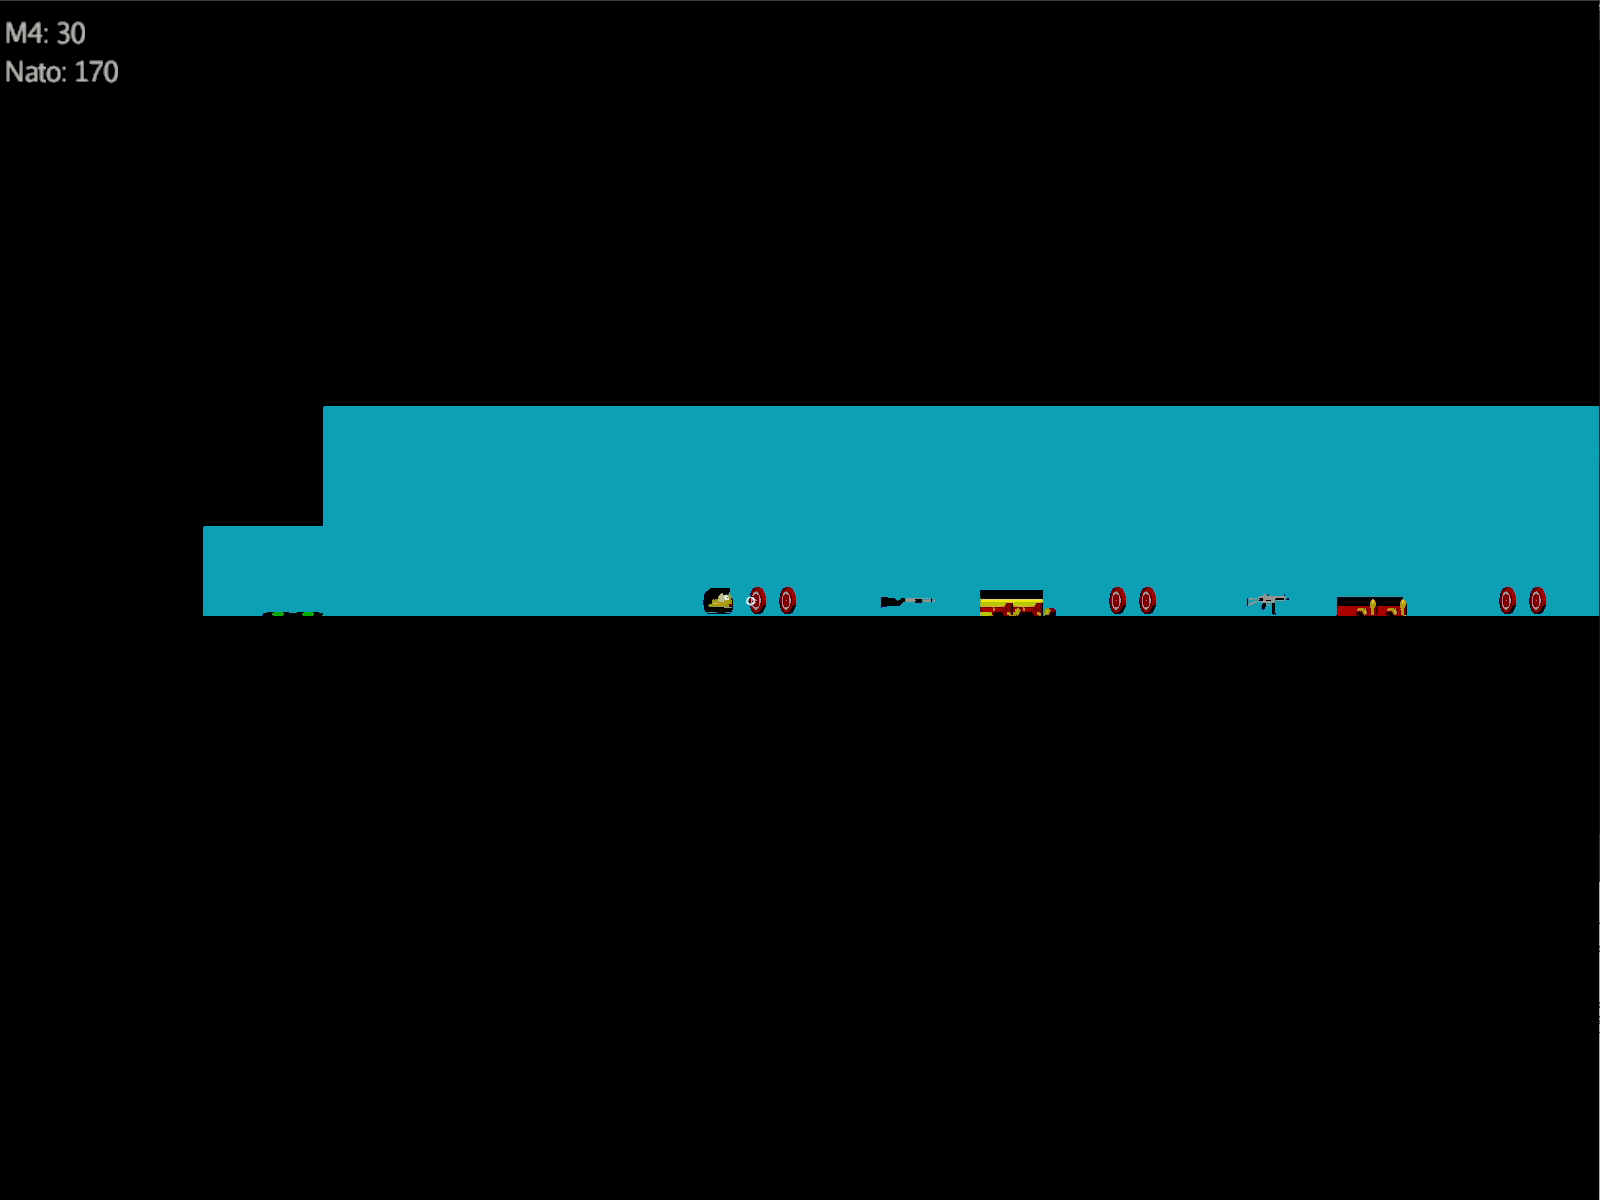
1. Basic Animations & Sounds

Makes walking, jumping, picking up things, and shooting more fun. It doesn’t really matter if it’s high quality or simple. It makes it alive.

2. Lower Enemy HP

It’s more fun. It’s super frustrating if you need to shoot ten times on an enemy before he dies, makes your weapon feel feeble and boring.

3. Higher Rate of Fire

It’s a video game about shooting so put more bullets in there. You hardly can overdo it. Really. Just add more bullets. Give your weapon a higher fire rate.
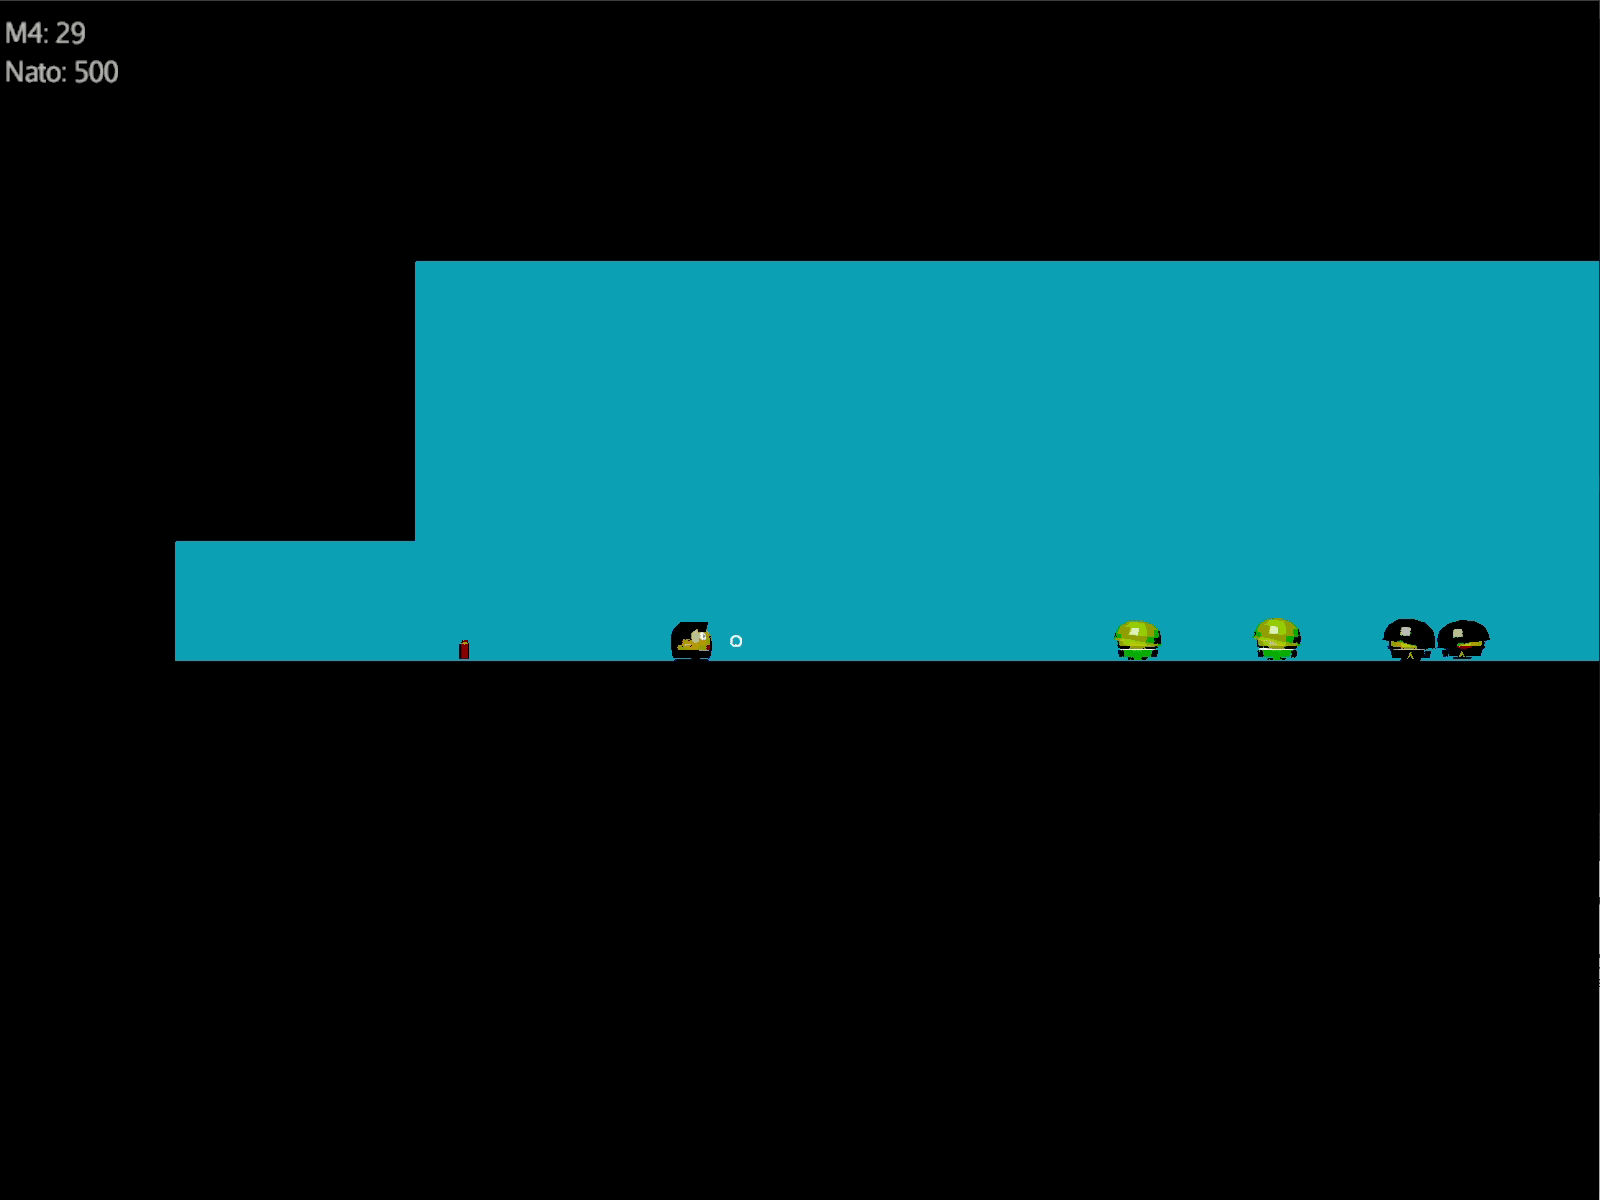
4. More Enemies

Because of juice number 2 you need more enemies to shoot. It’s satisfying if they pop like popcorn.

5. Bigger Bullets

Don’t use realistically sized bullets as it looks so silly, make them big. The player wants to see those badass killer bullets. The weapon feels much more powerful.

6. Muzzle Flash

Just make the first bullet frame a circle. Very simple, very effective.

7. Faster Bullets

Slow bullets are lame, make it faster.

8. Less Accuracy

If your gun is not too accurate it looks more realistic and is more fun.

9. Impact Effects

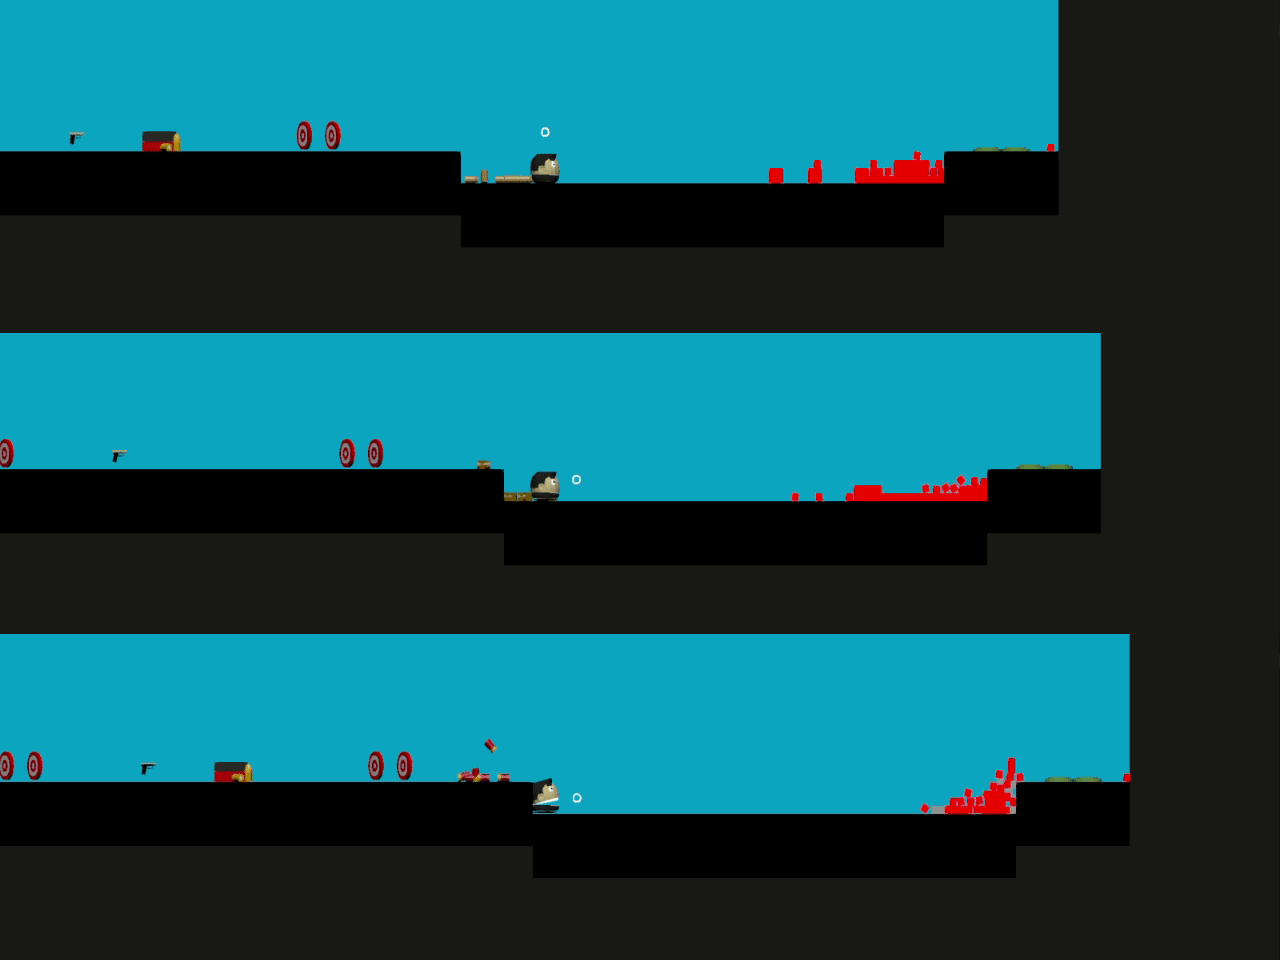
Let the player know he hit something, don’t just remove the bullets. Like fragments falling off the wall if a bullet hits it or blood strains if a character gets hit by a bullet.

10. Hit Animation

Let the player know that he damaged the enemies. The simplest trick is to make the enemy flat white for a fraction of a second.

11. Enemy Knockback

But knockback force if you hit enemies. Your weapon feels so much more powerful and makes it more realistic from a physical point of view.

12. Permanence

Don’t remove dead bodies, it helps you remember if you come back in a room with a huge pile of dead bodies in it.

13. Camera Lerp

Smoother cameras make the character feel more in motion.

14. Camera Position

Your camera focus on important things in your video game. This is one of the hardest part and takes a lot of trials and testing.

15. Screen Shake

This is an important rule add screen shake on explosions it looks so much more powerful than without.

16. Player recoil

Shooting feels much more powerful with recoil on the player and you can use it to avoid that player do not shoot all the time as it has a drawback.

17. Sleep

If you set a deadly hit sleep for 100 or 200 ms, it puts more meaning in that action. Brawl games do that a lot.

18. Gun Delay

Make the character and its props look like they have weight/momentum when moving.

19. Gun Kick

Add recoil to things that would have it.

20. Strafing

If you shoot and change the direction the shooting will be still in the same direction until you stop shooting to turn around the gun.

21. More Permanence

Put ejecting shells in your game and make them permanent. It also helps to remember that you were in that room and that you did shoot a lot.

22. More Bass

Add bass to your shooting and explosions they get much more meaning and power.

23. Super Machinegun

Try ridiculous variations on how shooting performs, maybe three bullets a time, go crazy.

24. Random Explosions

That is a funny one but it puts more action in your game if you put some random explosions to your game when you shoot enemies, don’t overdo it.

25. More Enemies

You tuned up your gameplay so that you got the feeling you do have not enough to shoot at.

26. Even Higher Rate of Fire

Because it is more fun to shoot

27. Even Higher Rate of Camera Kick

Make your camera kick in the direction of the action/shooting.

28. Bigger Explosions

Seriously, who doesn’t like explosions?

29. Even More Permanence

Put some dust after your gigantic explosions and let it fade slowly.

30. Meaning

Let your player win or loos. It’s an obvious one.

Level Design Patterns

Intro

A collection of level design patterns, which might be helpful for someone.

Patterns

Safe Zone

A safe zone is a pattern that refers to an area where the players are not exposed to danger. A Safe Zone gives the player the possibility to analyze the surroundings and plan their next actions. A safe zone is especially important at the starting point of the avatar.

When you enter a level you always should be in a safe zone where nothing attacks or threatens you. No enemy should be able to enter the safe zone, it’s upon the player to leave the safe zone.

When you enter a level you always should be in a safe zone where nothing attacks or threatens you.

My rooms for All Fucked Up start always in a safe zone means no hazard or enemies will enter that zone. I will use leap of faith jumps for storytelling and therefore I will soften the strict rules for the safe zone a little bit. It will be guaranteed that there is no hazard or enemy at the landing point which would kill you instantly. The player should have enough time to react and have the necessary amount of ammunition and weaponry. As well a leap of faith jump will never be at the end of a room or level. Combined with the fast and endless respawn this should be acceptable.

Guidance

Guidance is a pattern that refers to the use of non-verbal game elements to guide players in an intended direction. Guidance is especially important for explorative games.

Guide the character through the level shape from the start to the end. Besides gangways, shafts, and entry/exit doors, also enemies or collectibles can be used to guide the player through the level. But as well cracks in a wall can indicate that with a certain amount of force you can destroy that wall to enter a new room.

My levels have entry and exit points in rooms that are not too big. I plan to have hidden entries to bonus rooms and those I have to somehow decorate with a guidance pattern like destroyable blocks and walls.

Branching

Branching is a pattern that refers to providing the players with multiple paths to reach their goals.

Not just one possible path but a couple of possible paths. You can have difficult but faster ways through for experienced players or simpler but slower paths for beginners.

Alternative ways to kill your enemies.

For All Fucked Up I recently found another way of branching, not in the sense of alternative paths but alternative ways to kill your enemies. I started to work on a level with falling blocks and the blocks start to shake for a sec and fall down as soon I’m underneath them. If I can lure my enemies underneath the falling blocks and manage to save my ass in time I can kill the enemies without a gun. I can now think of more ways like this, like shooting fuel barrels near enemies and letting them be blown away.

Foreshadowing

Safely introduce a new enemy for example, by showing the new enemy in a safe way before it attacks you.

There are different ways to introduce new enemies, threats, or hazards. One way is to combine Foreshadowing with the Safe Zone pattern, the player is placed in a safe spot where he can observe the new enemy, threat or hazard and plan his action. Even new possibilities could be introduced that way, like the trampoline or the moving platform in celeste.

One way is to combine Foreshadowing with the Safe Zone pattern.

In All Fucked Up fast respawn after death, endless lives, and short levels make it quite easy to get knowledge of new enemies and threads. All my threads and enemies are introduced isolated at the beginning of a room, this gives the player an easy way to figure it out as he gets respawned right away after he gets killed by the new threat or enemy.

Layering

Layering is a pattern that refers to combining multiple game objects to create a new experience or challenge.

This pattern is most often combined with Foreshadowing. For example, introducing a new enemy separated and then combining them in a flock or together with already introduced enemies, threats or hazards. This gives the game new challenges.

In All Fucked Up I combine a lot the Foreshadowing and the Layering pattern. One example are the falling blocks. Whenever the player is underneath a falling block the block starts to shake for a sec and fall then down and smashes everything underneath also enemy entities. The player can combine the falling block in his tactic to smash following enemies.

The player can combine the falling block in his tactic to smash following enemies.

Pace Breaking

Pace breaking pattern refers to purposely changing the dramatic arc of the game.

Changing the surroundings or the sound for example when a boss enters the scene. Or to slow down the game for short moment to give the player time to prepare for the next wave of enemies.

In All Fucked Up I have some silent moments when finishing a room by adding a longer corridor where you just walk. But as well by environmental sound change. For example in the hall of hydraulic hammers you hear the hydraulic sound when the hammers lift and the boom noise when the hit the ground.

Proxy

Proxy is a pattern that refers to indirectly triggering an action.

Switches that open a door or unleash an event. The switch is not directly connected. Or an invulnerable enemy which I can only be kill by destroying a power supply. Fuel barrels which explode if you shoot at it. And more.

In All Fucked Up I introduced smart cards which you need to open the door to the next room. Those smart cards are carried by some of the enemies. This also should give the player the necessity to shoot those fuckers and not just try to avoid them.

Privileged Move

Privileged Move is a pattern that refers to the fact that not all objects do have the same impact on different objects.

Bullets from enemies do not damage enemies themselves only the player. Or an acid ground does not affect enemies but the decrease the players health.

For All Fucked up bullets from enemies only damage the player never other enemy entities. In case I introduce co-op mode I will do the same for the players that player bullets only damage enemies never the other player.


I get a small commissions for purchases made through the following links, I only have books in this section which I bought myself and which I love. No bullshit.

References

https://www.gamasutra.com/blogs/AhmedKhalifa/20190610/344344/Level_Design_Patterns_in_2D_Games.php

https://eledris.com/design-2d-platformer-levels/

https://www.gamasutra.com/view/feature/132649/the_case_for_game_design_patterns.php?print=1

https://www.youtube.com/watch?v=4RlpMhBKNr0

Lens #18: The Lens of Passion

The lens #17, the lens of passion from The Art of Game Design: A Book of Lenses written by Jesse Schell. If you buy books through the links in this article I will get a small commission for that and no extra cost for you. The book is great and I think a must-have for every game designer.

This lens is about my passion for my game. I should ask this from time to time myself, like how do I feel about my game with the following three questions:

  • Am I filled with blinding passion about how great this game will be?
  • If I’ve lost my passion, how can I find it again?
  • If the passion isn’t coming back, shouldn’t I be doing something else?

I’m not always blinding passionate about my game, I especially have this reality check when I try to design a new level. It’s quite a lot of work to make a level great and joyful and sometimes reality kicks in and I’m like nah nope no not cool. But then I fiddle with it and try different styles and make it more narrow and more intense and I feel this joy and passion and I’m like yes it’s good it’s great.

So I do this reality check almost automatically and see if I still like what I do and still like what I see and play. COVID-19 didn’t help too much for the play testing something I would like to do on game conventions. Just to see if others would also like this little hero and his adventure.

If I lose the passion I usually find it again. Sometimes I just need a break or I need to look at it from a different angle or just make some fun prototypes and see if it would fit which is most of the time not the case. I also work every single day except Sunday on the game. It doesn’t matter if I just write down some ideas, make some sketches, brush up a level, improve a little bit the game-mechanic, or even remove something from the game. This everyday habit helps me a lot to keep the drive and the passion for my own game. And it is quite amazing to see how it develops when I compare it to the early stages and now.

The last question of what to do when I can not find my passion for my game. Well, I probably would then just finish it somehow but would not put too much work into it.


I get a small commissions for purchases made through the following links, I only have books in this section which I bought myself and which I love. No bullshit.

Cinematic Camera

I Want

In the process of my game, I started to think about an advanced camera system. I wanted to define camera bounding boxes in which a certain type of camera is active. But this was not enough for me as I wanted them stacked. And I wanted to attach these camera bounding boxes as well on moving targets like enemies.

Why?

Well, I was thinking of a cool intro where the hero falls down a deep hole. I wanted to zoom close in the beginning and zoom out in the middle part and zoom in on the landing. Furthermore, I wanted to overlay camera bounding boxes to zoom in on certain objects or when I enter or leave a room or level. I was as well thinking of a centered camera for a squared room to see everything in it and as soon I leave this room I wanted my follow camera back. So it’s complicated. And then I thought OK would be cool to have a zoom-in if enemies approach me to give that more focus and this camera bounding box has to follow the enemy… of course.

So it’s all about the cinematic effects I guess.

How?

I think the best is a visualization of my idea.

I tried to describe it in the level itself. The long light blue bounding box across the full room contains a follow camera and is on the bottom of the stack that’s why it’s numbered with a ‘0’. The middle camera bounding box is darker blue and is on top of the following camera and contains a centered camera, which means inside this box the camera will not follow the character but point to the center of the bound box. This box has the priority ‘1’ and is on top of the priority ‘0’. On top of this, we have a yellow bounding box with a zoomed-in centered camera with the priority ‘2’. The higher the number of the bounding box camera the higher its priority. On the right, we see a yellow bounding box with priority ‘1’ which is higher than ‘0’ with a follow camera with a different zoom.

In Action

Now in action

This is pretty neat isn’t it?

Behind the Scenes

OK, I try to explain it with some pseudo-code. Let’s assume we have all the camera bounding boxes and their camera type. Furthermore, we can load these camera types on the fly.

public void updateCamera(float tpf, Vector2 playerPosition) {
    stream()
            .filter(cam -> cam.getAabb().contains(playerPosition))
            .sorted(Comparator.comparingInt(CameraAabbData::getOrder).reversed())
            .findFirst()
            .filter(cam -> cam.getMyCamera() != currentCam)
            .ifPresent(cam -> {
                LOG.debug("Enter camera area with cam data type: " + cam.getType() + " properties: " + cam.getProperties());
                if (cam.getMyCamera() == null) {
                    cam.setMyCamera((MyCamera) feather.instance(cam.getType()));
                }
                currentCam = cam.getMyCamera();
                currentCam.setAabb(cam.getAabb());
                currentCam.setProperties(cam.getProperties());
            });
    currentCam.update(tpf);
}

So in short

  • We check if the player is in the camera AABB
  • We sort the camera AABB due to its order
  • We just take the first, which means the top one (it’s ordered)
  • The next check is to avoid that we set the camera properties on every frame
    • And if there is a camera AABB we check if we already instantiated the camera (caching)
    • We set the current camera and its properties
  • Last but not least we update the current camera on every frame
    • A lerp function smooths the switch from one zoom to another
    • A follow camera for example updates its position depending on the character’s movement
    • Update other dynamic features of the current camera

The object “cam” is just a data holder and often referred as a DTO.

Barrel Distortion Lens

After the fisheye lens shader turned out to be too extreme for All Fucked Up I looked for other lens shaders and found barrel distortion shaders which makes a similar effect like a fisheye but less extreme. It just widens up the lens. Looks totally cool. I got the best and simplest shader for barrel distortion here on github. It’s in a different format than I need it for jMonkeyEngine but was quite simple to adapt it.

I always start with the part I need to embed the shader in the code and as I do not make anything fancy or parametrized it’s fairly straight forward

package ch.artificials.bubble.system.mvc.view.post.filter;
import com.jme3.asset.AssetManager;
import com.jme3.material.Material;
import com.jme3.post.Filter;
import com.jme3.renderer.RenderManager;
import com.jme3.renderer.ViewPort;
public class BarrelDistortionFilter extends Filter {
     public BarrelDistortionFilter() {
         super(BarrelDistortionFilter.class.getSimpleName());
     }

     @Override
     protected Material getMaterial() {
         return material;
     }

     @Override
     protected void initFilter(AssetManager manager, RenderManager renderManager, ViewPort vp, int w, int h) {
         material = new Material(manager, "MatDefs/Post/BarrelDistortion.j3md");
     }
}

The referenced MatDefs/Post/BarrelDistortion.j3md holds the references to the shader code and also defines possible parameters which we want to hand over from code to the shader code.

MaterialDef Toon {
    MaterialParameters {
         Int NumSamples
         Int NumSamplesDepth
         Texture2D Texture
         Color Color        
    }
    Technique {
         VertexShader GLSL100:   MatDefs/Post/BarrelDistortion.vert
         FragmentShader GLSL100: MatDefs/Post/BarrelDistortion.frag
         WorldParameters {
         }
         Defines {
             RESOLVE_MS : NumSamples
         }
    }
}

The vertex shader code is very simple and just hands over the tex coordinate and the position

import "Common/ShaderLib/GLSLCompat.glsllib"
attribute vec4 inPosition;
varying vec2 Vertex_UV;
attribute vec2 inTexCoord;
void main()
{
    vec2 pos = inPosition.xy * 2.0 - 1.0;
    gl_Position = vec4(pos, 0.0, 1.0);    
    Vertex_UV = inTexCoord;
}

The barrel distortion logic is in the fragment shader code and looks like this

import "Common/ShaderLib/GLSLCompat.glsllib"
import "Common/ShaderLib/MultiSample.glsllib"
uniform sampler2D tex0;
varying vec2 Vertex_UV;
uniform sampler2D Texture;
const float BARREL_DISTORTION = 0.25;
const float rescale = 1.0 - (0.25 * BARREL_DISTORTION);
void main()
{
    vec2 tex0 = Vertex_UV;
    vec2 texcoord = tex0 - vec2(0.5);
    float rsq = texcoord.x * texcoord.x + texcoord.y * texcoord.y;
    texcoord = texcoord + (texcoord * (BARREL_DISTORTION * rsq));
    texcoord *= rescale;
    if (abs(texcoord.x) > 0.5 || abs(texcoord.y) > 0.5)
         gl_FragColor = vec4(0.0);
    else
    {
         texcoord += vec2(0.5);
         vec3 colour = texture2D(Texture, texcoord).rgb;
         gl_FragColor = vec4(colour,1.0);
    }
}

And the lens effect in action looks like this


I get a small commissions for purchases made through the following links, I only have books in this section which I bought myself and which I love. No bullshit.

Camera System

Finally, we started to think about the camera logic. How to move the camera relatively with the character we control in a way that the player gets the most out of it. There was not so much to find but this Gamasutra article from Itay Keren helped me a bunch. I know at least have a clue what I’m talking about. And a tweet about the camera system of qomp from Stuffed Wombat inspired me to do something similar.

Head Into

The problem I had was that the camera was always following the character which made it quite a challenge to watch and might cause motion sickness.

Camera Systems

Lerp Camera

I found on this page a good lerp implementation which I use as well. It solved almost all my jitter problems I had with my own lerp camera implementation. It’s pretty cool and worth a read.

Projected-Focus

This is a projected-focus camera that looks a bit ahead of the player while moving.

The initial camera code was very straight forward and simple

Vector2 velocity = new Vector2(player.dyn4jBody.getLinearVelocity());
camera.setLocation(new Vector3f((float) (player.location.x + velocity.x / 2),
            (float) (player.location.y + velocity.y / 2), 0));

I just used the velocity to catch up with the player and look in the direction he currently moves. This was needed because the underlying lerp-smoothing logic, will let the camera fall back on high speed like a free fall so a velocity-based look ahead seemed the best solution.

This camera always follows the player. This can be annoying if we do wall jumps where the character always moves in and out. I guess after a while people will get sick.

Camera-Window But Keep Projected-Focus

The goal was to reduce the camera movement to a minimum and focus on the direction we move. For this, I implemented a combined camera which was camera-window and projected-focus. This means inside a window the character can move while the camera does not move. As soon the player touches the edge of the virtual window the camera starts to follow and look ahead.

You can imagine that this code would be much more complicated. As well I only wanted the window for the horizontal move but not for the vertical moves (for the vertical moves I do not yet have a clear plan). After a few trials and some refactoring later it was clear that I will use a behavior tree to implement the much more advanced logic for this camera-window and project focus logic.

Sequence<CameraBlackBoard> checkStillMovingX = new Sequence<>();
checkStillMovingX.addChild(new Invert<>(new DetectPlayerMoving(Axis.X, 0.1f)));
checkStillMovingX.addChild(new SetCamFollowing(Axis.X, false));

Selector<CameraBlackBoard> shouldFollowX = new Selector<>();
shouldFollowX.addChild(new Invert<>(new DetectPlayerCamRange(Axis.X, 4)));
shouldFollowX.addChild(new DetectCamFollowing(Axis.X));

Sequence<CameraBlackBoard> followX = new Sequence<>();
followX.addChild(shouldFollowX);
followX.addChild(new SetCamFollowing(Axis.X, true));
followX.addChild(new CamFollow(Axis.X, 0.75f));

Parallel<CameraBlackBoard> control = new Parallel<>(Parallel.Policy.Sequence);
control.addChild(new AlwaysSucceed<>(followX));
control.addChild(new AlwaysSucceed<>(new CamFollow(Axis.Y, 0.5f)));
control.addChild(new AlwaysSucceed<>(checkStillMovingX));

bh = new BehaviorTree<>(control, bb);

I had to distinguish between horizontal and vertical movements as this is decoupled. I applied the window logic only for the horizontal movement (the x-axis) which was even with a behavior tree implementation a bit tricky to achieve. The vertical movement is in parallel to the horizontal movement but strictly following. The last sequence checks if the character stopped so we can stop following. We following a character if he touches the window border and keeps following until the character stops. The behavior tree forces us to break the code up into simple tasks which makes it a piece of cake to implement and test.

This reduces the movement of the camera while the character walks back and forth within a specified window. I still have to figure out and fine-tune what is the best window size. It also looks ahead in the direction we move.

There is an underlying camera that does lerp-smoothing to make it softer on direction changes and stops. The underlying camera also does have a kickback function for the camera kickbacks if we fire a weapon to give the weapon more boom. I use the kickback vertically as well for hard landings which gives it a bigger impact.

Zoom

I added a simple “Zoom” property and extended my cameras with a setProperties to set any kind of property and every camera implementation can get whatever property it understands and apply it. The zoom is simply the distance to the character as I decided to use a perspective camera instead of an orthogonal camera. The game also looks a bit more interesting with a perspective camera.

Camera Switch

I implemented as well a simple camera switch logic. With tilded I have an object group where I define the camera area, the name of the camera type, and the camera properties like “Zoom”.

        cameraContainer.stream()
                .filter(cam -> !cam.entered)
                .filter(cam -> isPlayerInCam(cam))
                .findFirst()
                .ifPresent(cam -> {
                    cam.entered = true;
                    myCamera = (MyCamera) feather.instance(cam.type);
                    myCamera.setProperties(cam.properties);
                });
        
        cameraContainer.stream()
                .filter(cam -> cam.entered)
                .filter(cam -> !isPlayerInCam(cam))
                .findFirst()
                .ifPresent(cam -> {
                    cam.entered = false;
                });

That’s it so far. I enjoyed the journey 🙂


I get a small commissions for purchases made through the following links, I only have books in this section which I bought myself and which I love. No bullshit.

Lens #17: The Lens of the Toy

The lens #17, the lens of the toy from The Art of Game Design: A Book of Lenses written by Jesse Schell. If you buy books through the links in this article I will get a small commission for that.

This lens is about my little character which can pick up weapons, ammo, and other stuff, which can walk, jump and shoot.

I have to answer the following questions

  • If the game had not goal, would it be fun at all? If not, how can I change that?
  • When people see my game, do they want to start interacting with it, even before they know what to do? If not, how can I change that?

It’s fun for me to walk around and shoot enemies. It is simple enough to “get it” and interact with it. Due to the COVID-19, there are no gameshows where I could test if people would like to interact with my game. But the bar should be pretty low to give it a try. But the game world is not interactive enough to just enjoy walking around and explore the levels without any goal.

The game world needs more things we can interact with. Like flying paper in an office space or dust and little debris when walking around. Also shooting should have more impact on the game world.

The outcome of this chapter will lead to a couple more topics for Lens #16: The Lens of Risk Mitigation as I have to try them out quickly which means more prototyping. Prototyping is a fun thing to do actually and with ESC (see also my articles about ESC) it is a piece of cake.

A selection of ideas

  • Destructible stuff
  • Attacking dash
  • Water which includes swimming and diving
  • Whirling paper when rushing through an office space
  • Whirling dust and debris along the way when we shoot
  • A sleeping animation if just standing around

I get a small commissions for purchases made through the following links, I only have books in this section which I bought myself and which I love. No bullshit.

Risk Mitigation: Add more Details to Death Animation

This is the follow-up article about lens #16, the lens of risk mitigation from The Art of Game Design: A Book of Lenses written by Jesse Schell. If you buy books through the links in this article I will get a small commission for that.

I tried quickly if more details for death animation would give the game more depth.

And it does. Need some more fine-tuning and random but the idea is there and looks good and funny. But I need to add some random explosion if I kill a mass of soldiers. The blood fragments have to be more random in the depth axis so the helmet is not all behind the blood fragments. But this is fine-tuning for a prototype this is enough.


I get a small commissions for purchases made through the following links, I only have books in this section which I bought myself and which I love. No bullshit.

Risk Mitigation: Test Primary and Secondary Weapon Switch

This is the follow-up article about lens #16, the lens of risk mitigation from The Art of Game Design: A Book of Lenses written by Jesse Schell. If you buy books through the links in this article I will get a small commission for that.

The next idea I tried quickly to pitch was having a primary and a secondary weapon for more advanced levels. But I needed first the implementation, was only an hour to implement this and define the primary and secondary weapons, so cheap enough. I tested with an M4 and a semi-automatic handgun (Glock).

If I use a gamepad, I will have to separate the switch button from the shoot button, so that I can shoot and independently switch the weapon. Feels good. But at the moment the handgun doesn’t give any advantage over the rifle for melee attacks or in any other situation than running out of ammo with the rifle. This isn’t too exciting. I have to extend this test and see if it is a good idea to make a rifle not operatable in very close range so that the player just has to switch to a melee weapon which is the main purpose of a secondary weapon. I made as well the handgun ineffective for long-distance, the bullets lose their power over time.

One thing I observe is if my rifles are not working in melee it is not visible or clear it just does not shoot. I need some feedback. Could drop some curses from the player. This leads to another test besides just implementing the weapon switch between rifle and melee weapon. I will test this idea shortly and see if I like it. I tried ejecting some skulls and bones when he curses.

It gives now an indication that something bogs this little man when he tries to shoot at something too close. Looks cute in a way so I will go with that.
And last but not least a mini level where a weapon swtich makes sense.


I get a small commissions for purchases made through the following links, I only have books in this section which I bought myself and which I love. No bullshit.

Risk Mitigation: Test Bloodstain for Bullet Exit Wounds

This is the follow-up article about lens #16, the lens of risk mitigation from The Art of Game Design: A Book of Lenses written by Jesse Schell. If you buy books through the links in this article I will get a small commission for that.

In this blog article I tested bloodstain for exit wounds, this makes it much crueler and in a weird way, satisfying to shoot those dummies. I took the damage into account to generate the amount of bloodstain when an enemy gets hit. But this is not just limited to the enemies but also the hero.

Looks quite satisfying but might be that it becomes a bit too violent. I apply to every character, robot, and object its own hit animation, so even when I shoot at a computer I can make some fitting nice animation for getting hit. I think this looks more interesting than just color the object flat white for one frame when get hit by bullets.

The test leads to a better-organized code and easier to add new hit and destroy animations for certain objects and characters.


I get a small commissions for purchases made through the following links, I only have books in this section which I bought myself and which I love. No bullshit.